Installing high-performing windows saves energy and blocks various kinds of damaging light, saving a tremendous amount of money and creating a more comfortable indoor environment.
Unfortunately, new windows are expensive. However, if you are an experienced DIYer with an extra set of hands, you can save a lot of money on new windows by installing them yourself. Choosing quality window installation products, like PolyWall Window Flashing products and Polyguard peel and stick vapor barrier products, will ensure the success and longevity of your new windows.

Considerations When Installing Windows
Your local ordinances may mandate a local building inspector to ensure that the flashing (and all window installation details) meets local building codes.
The 2021 IBC (1405.4) and IRC (R703.4.1) mandate installing flashing on the exterior window and door openings to prevent moisture from entering the wall or redirecting it to the exterior.
Furthermore, DOE Zero Energy Ready Home and ENERGY STAR Certified Homes require flashing around the door and window openings.
To maintain the window's warranty, you must apply flashing to a specific window according to the manufacturer's instructions. However, builders usually follow a standard sequence of steps when using flashing around a new window.
Read on for 18 common steps for installing commercial windows. Always follow your window manufacturer’s specific instructions.
18 Steps to Installing Commercial Windows
Properly installed and flashed windows will add value to your home or building. They will also save money and energy for years to come. Installing a new, water- and air-tight window requires layering a sequence of specific window flashings. Each layer overlaps the layer under it to direct water flow down and away.
Step 1: Wrap Weather or Vapor Resistant Barrier Around Window Edges
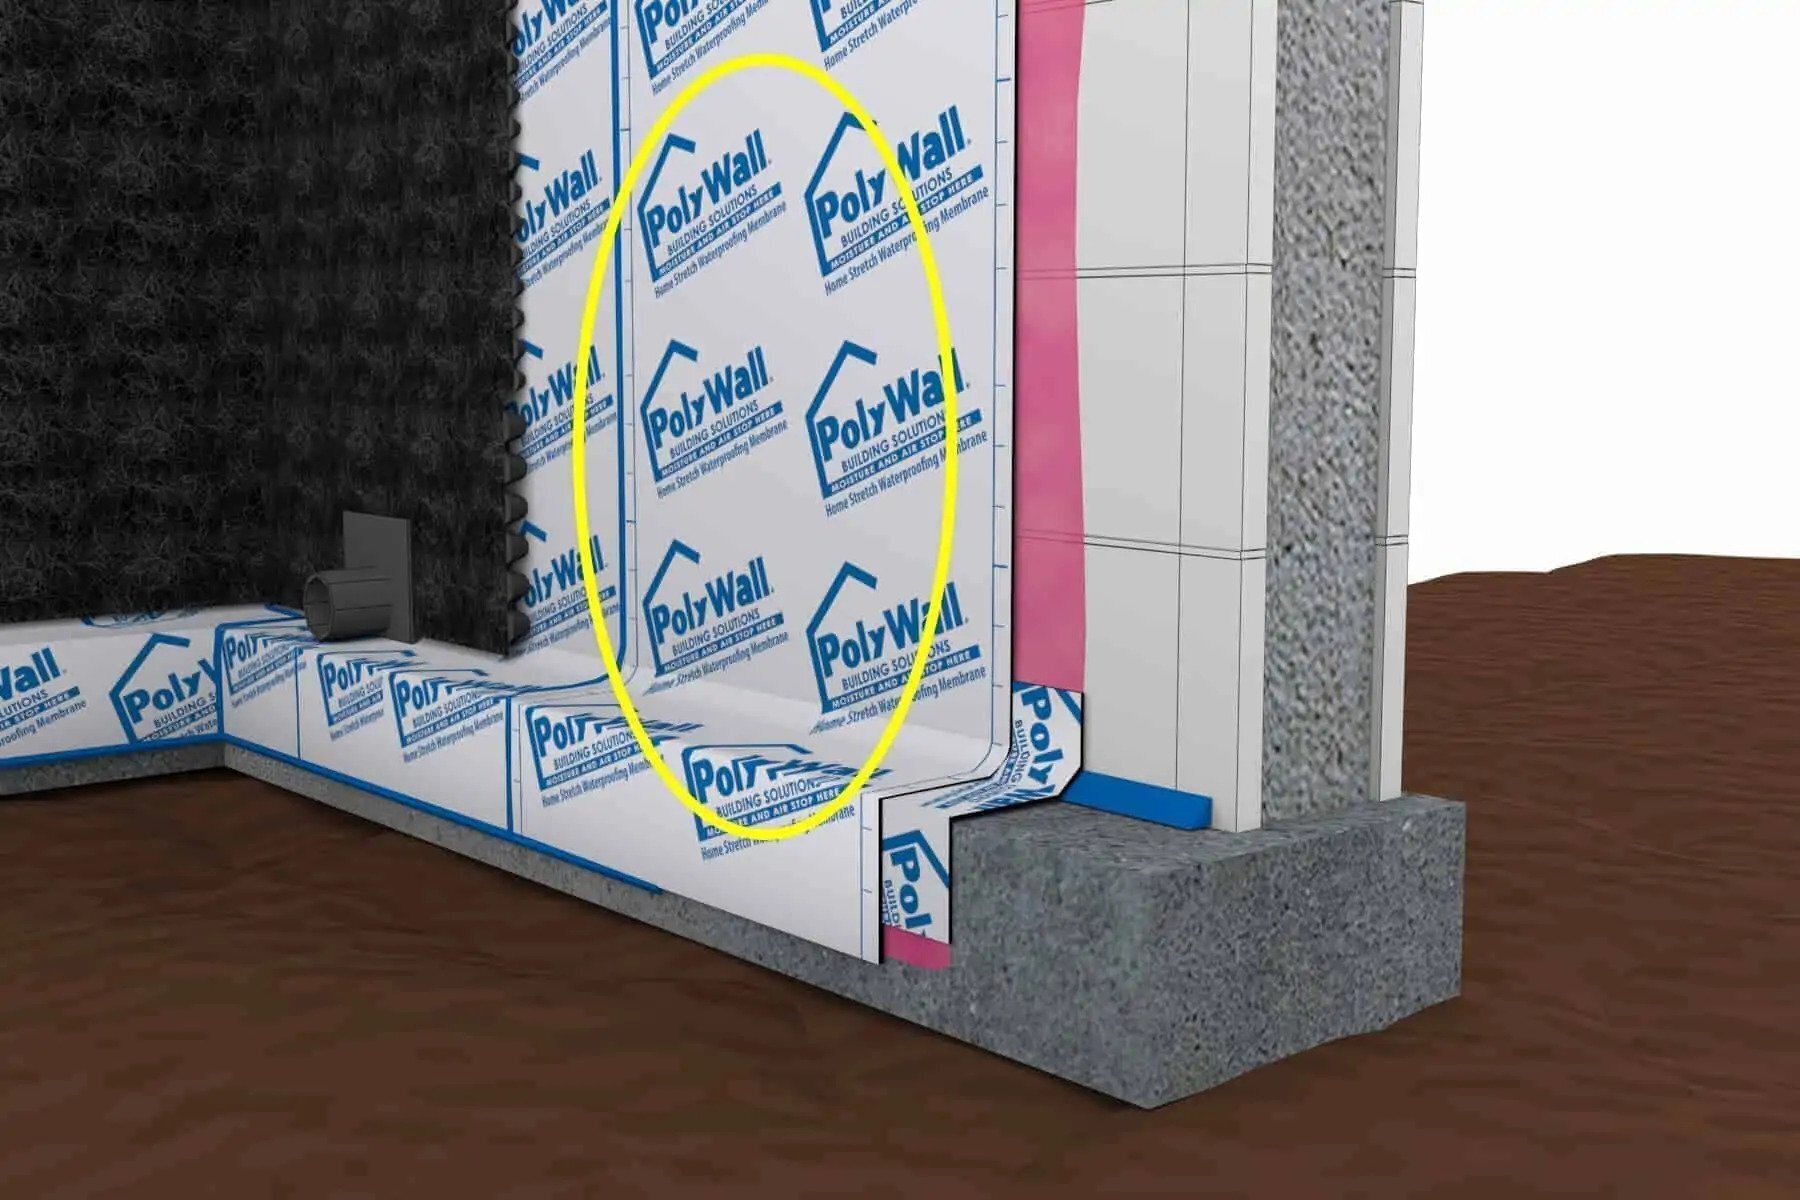
Ensure the window opening and surrounding surfaces are clean, dust-free, dry, and smooth. Wrap an exterior wall vapor barrier (house wrap) around the inside edges (jambs and sills) of the window's rough openings to protect against water intrusion.
Polyguard Peel and Stick Vapor Barriers
Simple to apply peel and stick vapor barriers make it the preferred water vapor barrier for residential, commercial, and industrial buildings. A quality peel and stick vapor barrier provides fast adherence, durability, and puncture, sunlight, and chemical resistance. They also lack VOCs. Polyguard peel and stick products provide all these features:
Our products guarantee a high-performing, long-lasting vapor barrier for your windows when correctly installed.
Step 2. Back Dam
Create a back dam or positive slope on the sill to remove water and stop it from reaching the wall cavity. To do this, peel back the vapor barrier on the sill and lay a strip of tapered wood or clapboard on the sill, with the thick side on the inside of the window frame. Tack the wood piece, then pull the vapor barrier back over it. Increase the rough opening's height by about 1/2 inch to accommodate the back dam.
Step 3. Pull Back Header Vapor Barrier
Pull back and secure the vapor barrier above the header, to uncover a foot of substrate.
Step 4. Apply Self-Stick Flashing Tape
Cut a piece of flashing tape the window's width plus six inches, so it overlaps three inches on each side.
Step 5: Remove Backing
Remove the sticky backing of the flashing and install it on the sill.
Step 6: Cut Window Sills
Cut the window sill at the rough opening's corners so you can fold the flashing onto the barrier service.
Step 7: Cut Flashings for Corners
Cut flashing patches, installing them at each corner.
Step 8. Prepare Window for Leveling
Draw a horizontal line on the nailing fin at the center point of the vertical sides of the window.
Determine where you want to center the window on the wall, marking the point on both vertical sides of the rough opening. Then use a level to draw a horizontal line from the center point marks away from the rough opening. Do this on both vertical sides of the rough opening.
Step 9: Center the Window
Place the window into the rough opening, then center.
Center the window from the outside by sliding the window tight against the opening on the right side.
Mark where the edge of the fin (on the right side) touches the exterior wall.
Then, slide the window to the left, and again mark where the edge of the same fin touches the exterior wall.
Divide the space between the two lines in half.
Slide the window back to the halfway mark between the lines, centering the window into the opening.
Remove the window from the rough opening.
Step 10: Apply Caulking
Create a dam in the center of the sill by applying a bead of caulking, like Poly Wall® Blue Barrier™ Joint Filler 2200. The dam will prevent water under the window from passing into the interior of the home or building.
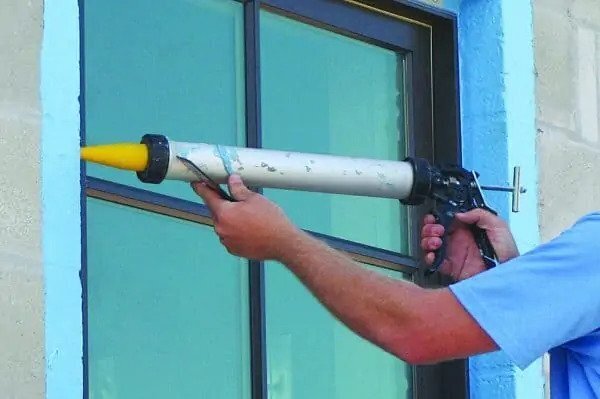
Caulk along the sill, tight along the length of the corners, and up the sides three or four inches.
Run a bead of caulking along the rough opening's outer sides and top edges. Do not place the caulking on the bottom edge.
Poly Wall® Blue Barrier™ Joint Filler 2200
You can use Blue Barrier™ Joint Filler 2200 (a structural adhesive and detail sealant) to chalk along window openings and prep surfaces before application of other Poly Wall® Blue Barrier™ products for Window and Door Flashings and Air Barriers. We developed Joint Filler 2200 utilizing Silyl Terminated Polyether (STPE) Technology.
Step 11: Leveling the Window
Carefully lift and place the window in the opening, pulling back the nail fins.
Match the center line on the nail fin with the horizontal line on the exterior wall. Have a helper inside the house manipulate the window with a shim until the markings match up, then insert one nail in the fin near the markings.
To make the window level, match up the other side's nail fin center mark and a horizontal line on the exterior wall. Again, have the inside helper adjust the window until the lines match up, then insert one nail near the markings.
Step 12: Squaring the Window
Place a level along the right vertical side of the window. Adjust the window from the outside until the window is plumb.
Insert nails loosely.
Check to ensure the window is still square by measuring diagonally with a tape measure, from one corner to the other. Then measure from the other corners. The measurements should be the same if the window is square.
Adjust and center the unit by inserting shims under the sill and behind the side jambs.
Insert a few more nails
Again, check that the window is plumb, level, and square before inserting the remaining nails.
From the inside, insert a window shim between the sill and window. It should be snug. It will keep the window in place.
Fill in any holes, particularly around the corners, with caulking.
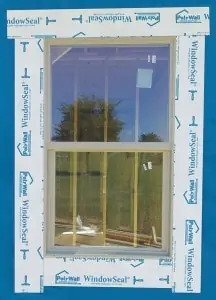
Step 13: Cut Flashing
Measure and cut two pieces of the flashing to overlap the window sill.
Step 14: Extend Flashing Over Opening
At the bottom and top of the window, extend the flashing three inches above and below the opening.
Step 15. Roll Flashing
Use a hand roller to roll the entire flashing service to seal the bond.
Step 16: Extend Flashing Beyond Jamb Flashing
Measure and cut one section of flashing that will overlap and extend two inches beyond the jamb flashing onto the exposed substrate (wood).
Step 17: Fold Vapor Barrier Over Header
Fold the vapor barrier over the header on top of the window seal. Then, cut two six-inch flashing sections to cover the 45-degree cuts and the vapor barrier.
Step 18: Install a Drip Cap
Fit a drip cap over the window's top to shed water outward and keep it from seeping behind the window.
Successful Commercial Window Installation with PolyWall Products
You can save money on commercial windows by installing them yourself. Just follow the 18 steps above and the manufacturer's instructions. However, your window installation project's success depends on using quality window products, like PolyWall Window Flashing products and Polyguard peel and stick vapor barrier products.
Properly installing commercial windows with Polywall products will protect the windows' durability, efficiency, and longevity by preventing moisture infiltration. They will also reduce energy use and improve air quality.
Don't hesitate to contact PolyWall professionals today for more information on how to install commercial windows.